
3/5/15 Puzzle Pieces
A fun and healthy hobby I enjoy with my family is putting together puzzles 1000 plus pieces. In this post, I will share some simple tips to help you puzzle faster and easier. I created photo journals during the process on some of my favorite puzzles, from the beginning process to the end.
This is what you will need:
- Chose a puzzle that you love
- 1 piece of large poster cardboard, any color
- 1 bottle of Elmer’s puzzle glue
- 1 sponge or large paint brush
- 1 frame, puzzle measurements
- A big dose of determination
Let’s start with this puzzle photo of an Indian Chief in completion, to get you motivated. Isn’t it gorgeous?
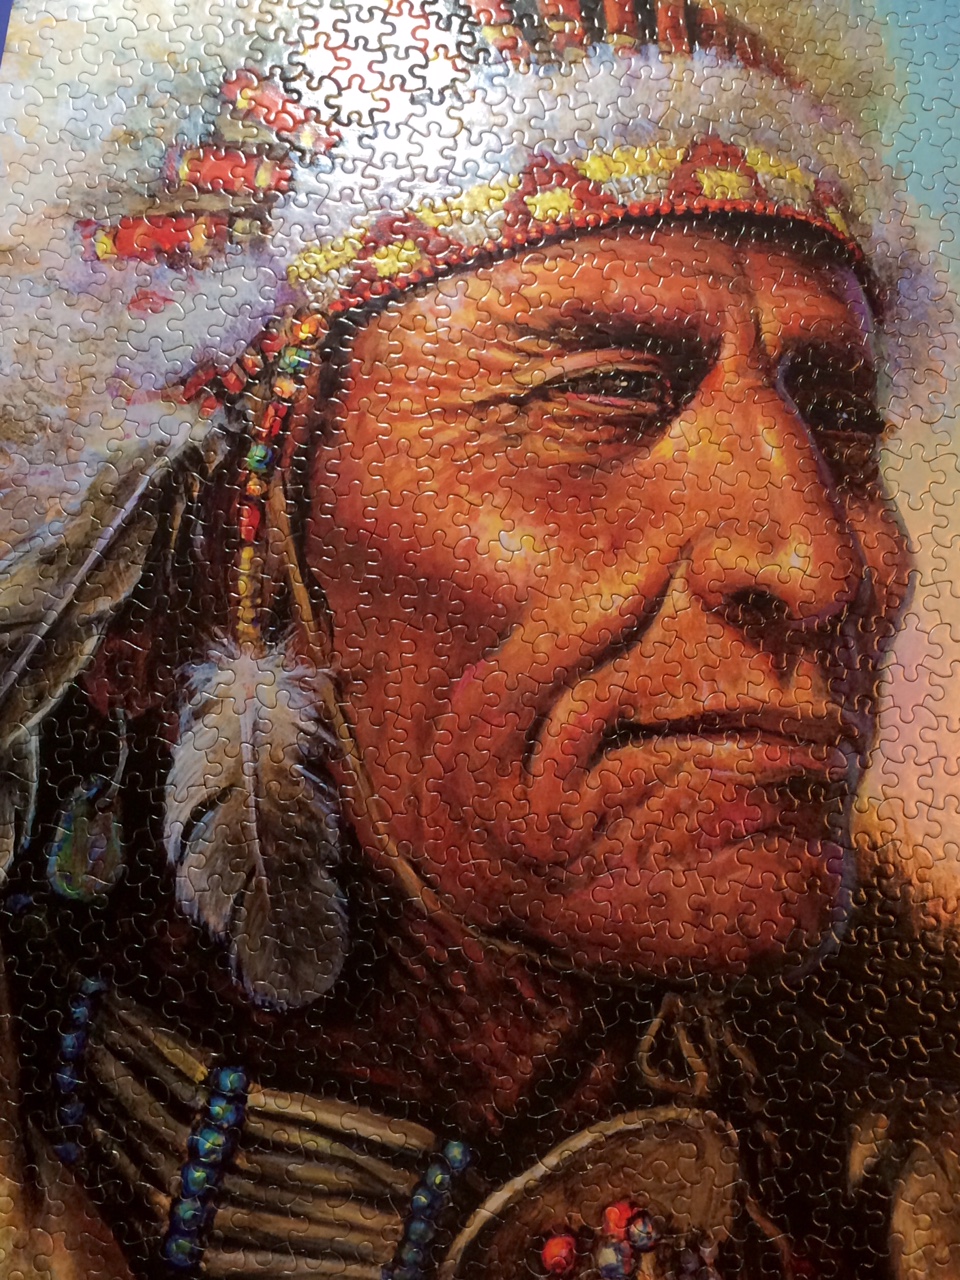
3/5/15, Indian Chief, Headshot Puzzle


Here is a list of things to do to organize 1000 tiny puzzle pieces.
- If you are newbie to larger puzzling, I would search for puzzles with many colors and objects to keep it easy and interesting. I get bored working with the same color.
- Great lighting is mandatory or you will die, not really, but you will struggle visually with the pieces. I use 3 bright lamps, LED lamps and place around the puzzle.
- Place the puzzle pieces on a flat uncluttered surface.
- Make sure no pieces are left in the plastic wrap.
- Stand the empty box up in your work area for visual reference.
- Start by turning all the pieces right side up, separate by grouping of color initially.


Obviously, there will be many shades of every color, group light to dark within groups.
Now you are ready to work on the frame. All frame pieces will have a straight side, pull the frame pieces together and create the puzzle border. Below is a picture of the puzzle I am working on now. A border example is easier to see in this puzzle photo.

Puzzle Border
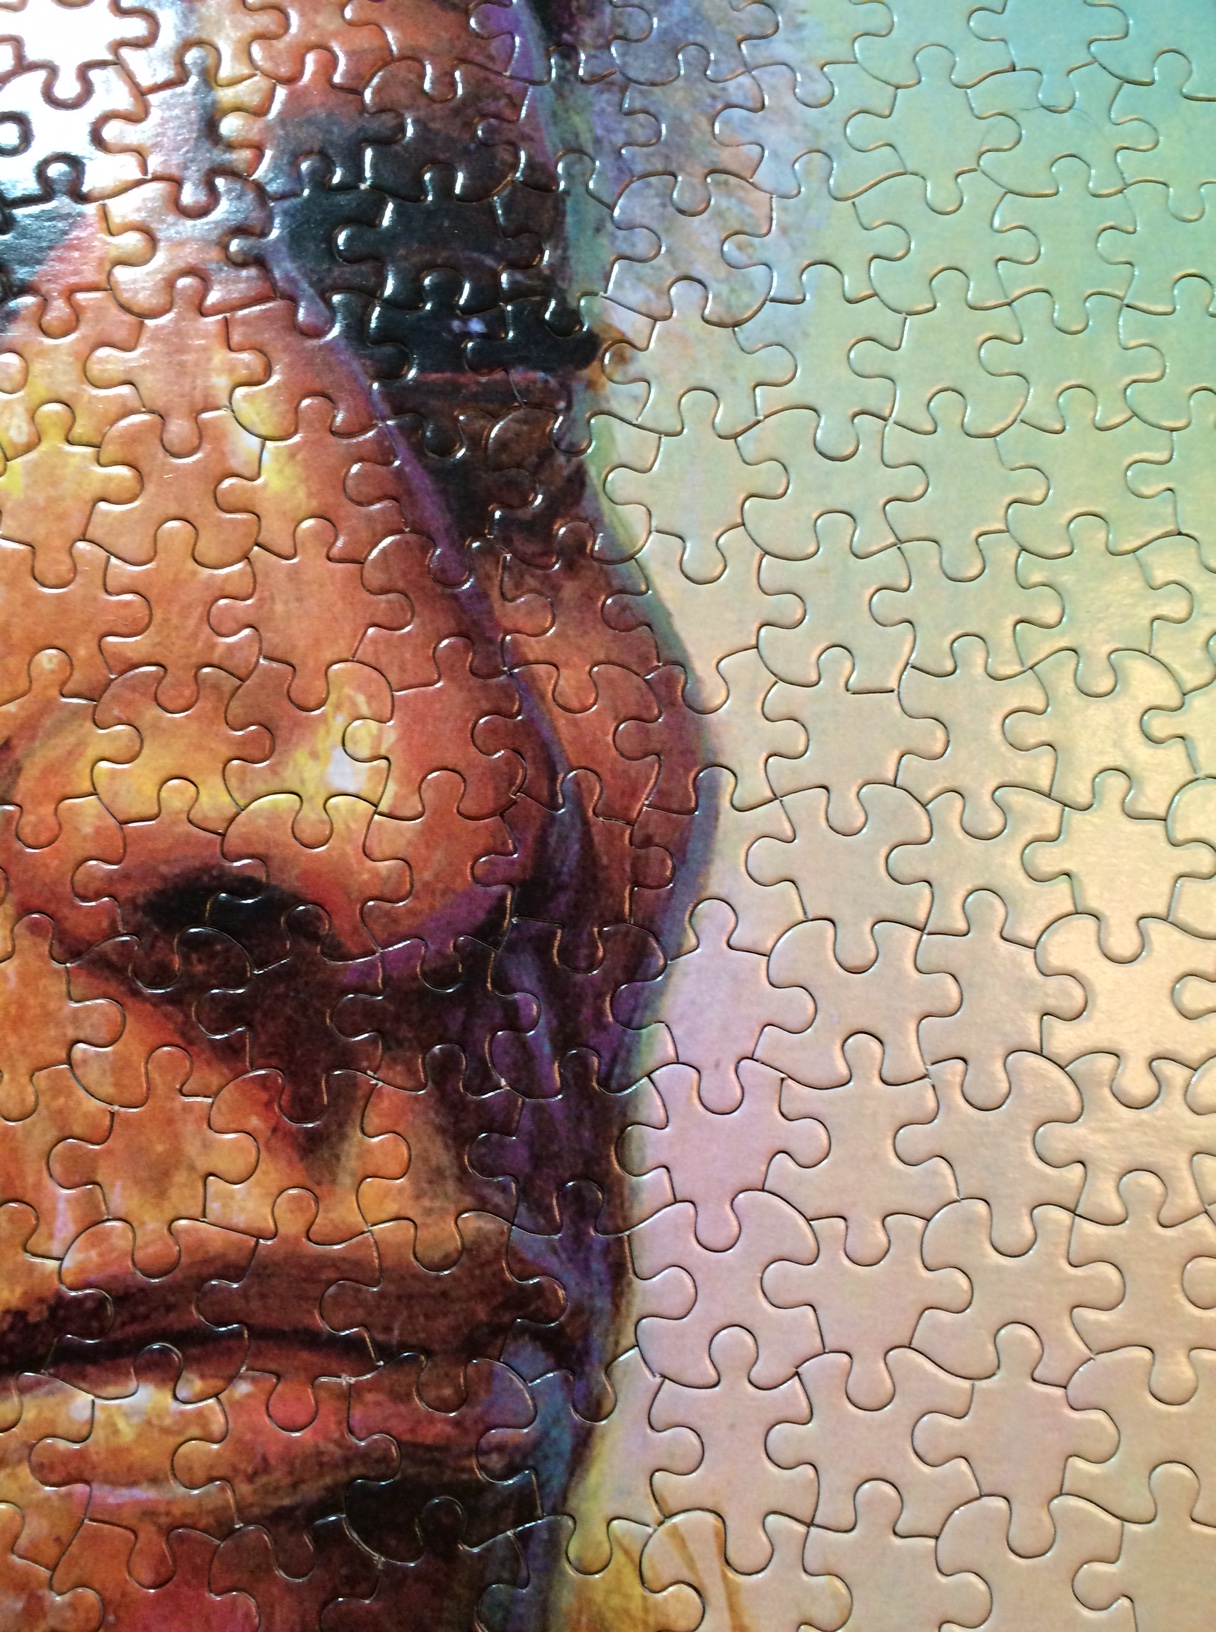
Easy, right? Now you are ready to start developing the puzzle. Here are photos of the Indian Chief puzzle in progress.


- After you finish the puzzle, it’s time to slide a piece of large poster cardboard (available almost everywhere) under the puzzle to prepare for preserving. Be careful with this maneuver, you don’t want it crashing to the floor.
- Now it’s time to cover the puzzle with puzzle glue. Elmer’s puzzle glue is the best. Usually one coat will secure the pieces into place, occasionally it takes two coats. Put the puzzle away and wait 24 hours for it to dry.
- Hopefully you will want to frame your masterpiece. Frames for puzzles are not easy to find. I would recommend checking local craft stores, but you might have to buy online, especially if your puzzle is an odd shape or size. And be sure to save the puzzle box, it has the puzzle measurements on the side.
One thing I learned the hard way – check the floor each time you leave your puzzle area for any pieces that may have fallen off the table. My dogs have eaten several puzzle pieces over the past years. Luckily, my husband is crafty at making missing puzzle pieces. He constructs them out of cardboard boxes, and then matches the paint with the puzzle. Once we worked on a 2000 piece puzzle all summer, yes… it seemed like an eternity and 1,999 pieces later, a piece was gone. Panic attack, but lesson learned – don’t lose pieces.
I hope you find these tips helpful. Let me know if you have any questions. Do you enjoy puzzling? I would love to hear your tips and shortcuts or see photos of your masterpieces. After puzzling for years, I have accumulated a lot of puzzles, but my favorite one is the “Wizard of Oz”. It has bright colors, characters galore and Dorthy’s red sparkly shoes. Do you have a brand puzzle you favored?
This week I’m working on a sweet “cupcake puzzle”, how about you?
Happy trails,
Donna George
Follow me on my Facebook page, DonnaGeorgeBlogs.

You must be logged in to post a comment.